Texturing your room
Back - Home - Return to Tutorials - Continue
|
Note: If you want to follow this tutorial exactly, you will have to finish the one before it, Building a simple room, because I will use the room we created there. Though if you are just looking for information about texturing, feel free to look ahead.
|
|
|
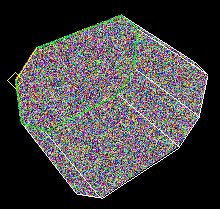
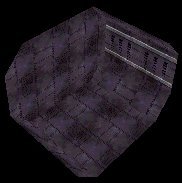
Ok, now that you finished the room, you should texture it before looking at it. In the 3D view on the room edit, right click and select 'textured' or 'textured with outline', whichever one you think you can work with better. You should see D3Edit's lovely default texture, which is more or less colored static (like the picture to the left).
|
|
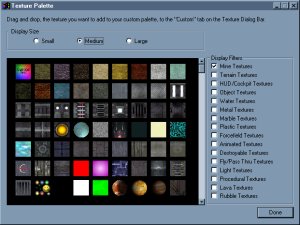
Now, when you feel like you are ready to start texturing the room, click on the 'available textures' button on the right (if you closed the textures bar, click on the 'window' menu and select 'textures bar'). Most of the textures used in rooms are under the 'mine' checkbox. Click on the 'mine' checkbox and wait for your computer to load all (almost 1000) of the textures.
|
|
|
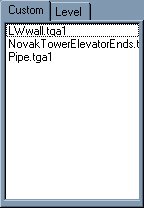
Look through the list and when you find one that looks cool, click on it and drag over to the box under the 'available textures' button then release. That puts the texture in a palette of sorts, now you can use that texture in your level. When you find 3 or 4 that you like, minimize the texture list (if you close it, you will have to re-load all of the textures if you want to get more).
|
|
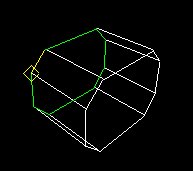
There are a few ways to texture a room. You can go through face by face and texture it corresponding to that face, or you can mark all or most of the faces that will have the same texture and mark them all at once. Considering the marking way is much faster, I'll show you how. First of all, we need to be in face mode. Next, go to one of the view modes (any will do) and drag your mouse over a portion of the level, such as the left half of it.
|
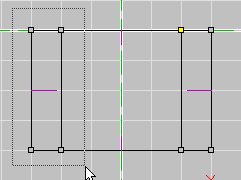
NOTE: This is in the 'Top (XZ)' view
|
NOTE: Notice that only the top and bottom lines are highlighted. Those are faces too in a different view, don't forget to check your room from every angle in case you missed a face.
|
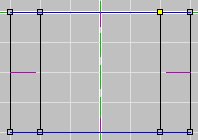
If you did it correctly, the faces that you dragged over will turn blue, which means they are marked. Now go to your texture palette and select one you would like, then click on 'to marked' (or just 'apply to marked' if you are using a different version) above the palette window. To mark a different section of faces, you must first unmark the other ones. To unmark something, simply click on a view and hit 'U', you will know when they are unmarked when the faces aren't blue anymore.
|
|
You don't have to have your textures to look like my room, make it look like whatever you want, be creative. Continue doing this until all of the faces are covered and you are done with the texturing! Save your room and continue on.
|
|
Back - Continue
Home - Return to Tutorials
|