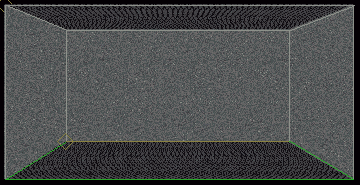
Objective: To place a room (an energy center for this example) inside an existing room. ex. a.
Pre-requisites:
basic knowledge of D3Edit...how to build a room, attach a room, extrude
function.
Author:
schplurg
Click to download the files used in this lesson
ex. a

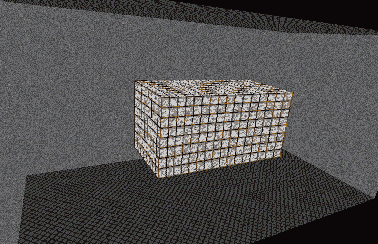
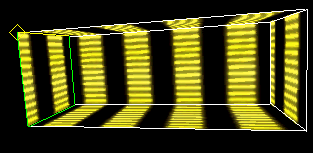
The energy center will be 40 x 40 x 80 units (outer diameter).
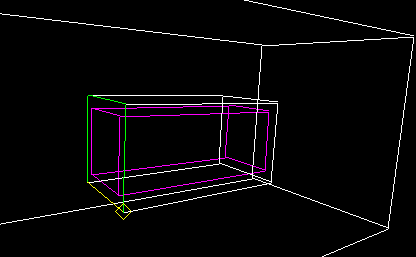
In D3Edit, each face can only be textured on one side. The outer room (shell) of your level will only be seen from the inside, so it is not necessary to texture the "outside". The "room within a room", however, will be visible from all sides which means we'll need to build the outside of the energy center, as well as the inside.
We will now build the outside of the energy center. This is not a new room but part of room 1. Simply make a polygon inside the shell 40 x 40 x 80. Use the same procedure as creating a room except with the faces pointing out. Make sure the normals (faces) are pointing out. In my example I raised the "room" 25 units off the floor (optional) to make the energy center "float" ex. c.
We still do not have a room - if you punch a hole in one side and fly your ship in, the walls will be invisible, since all the texturing is on the outside.
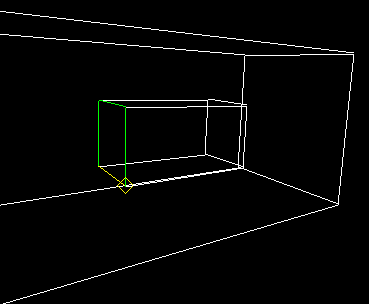
Now go to File...New... and create a new room 30 x 30 x 80 units ex. e. This will be the "inside" of our energy center. Make sure the normals (faces) are pointing in.You'll notice the new room is the same length as the first. This is because our doorways portals will be at each end of the energy center. This will make sense to you soon. If you don't know how to designate a room as an energy center, don't worry. It will still work for this tutorial.
ex. b
ex. c
In world view, select the face shown in ex. d. This is where the first portal, or entrance, to our energy center will go.
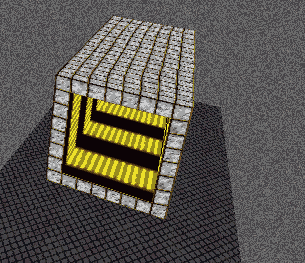
Next, go to the last room you created and select the face shown in ex. e. This face will be joined with the face you selected in ex. d to create the portal. Now, simply join the two faces (rooms) by using the Place Room command ex. f. To create a portal at the other end, in world view mark the opposite face of the one in ex. d, then make current the "tunnel" face that matches. Select join rooms and you have a floating energy center inside of a room! ex. g
How This Works:
This is really no different
than connecting any other 2 rooms. Two "outside" faces are
attached to make a portal. It's just sort of inside-out. Once you
understand this concept, you will be able to develop much more interesting
levels. Enjoy!
- schplurg
ex. d
ex. g
ex. e
ex. f